
Cabin condition guide
Pet Hair and Fabric: What to Notice Before an Interior Detail
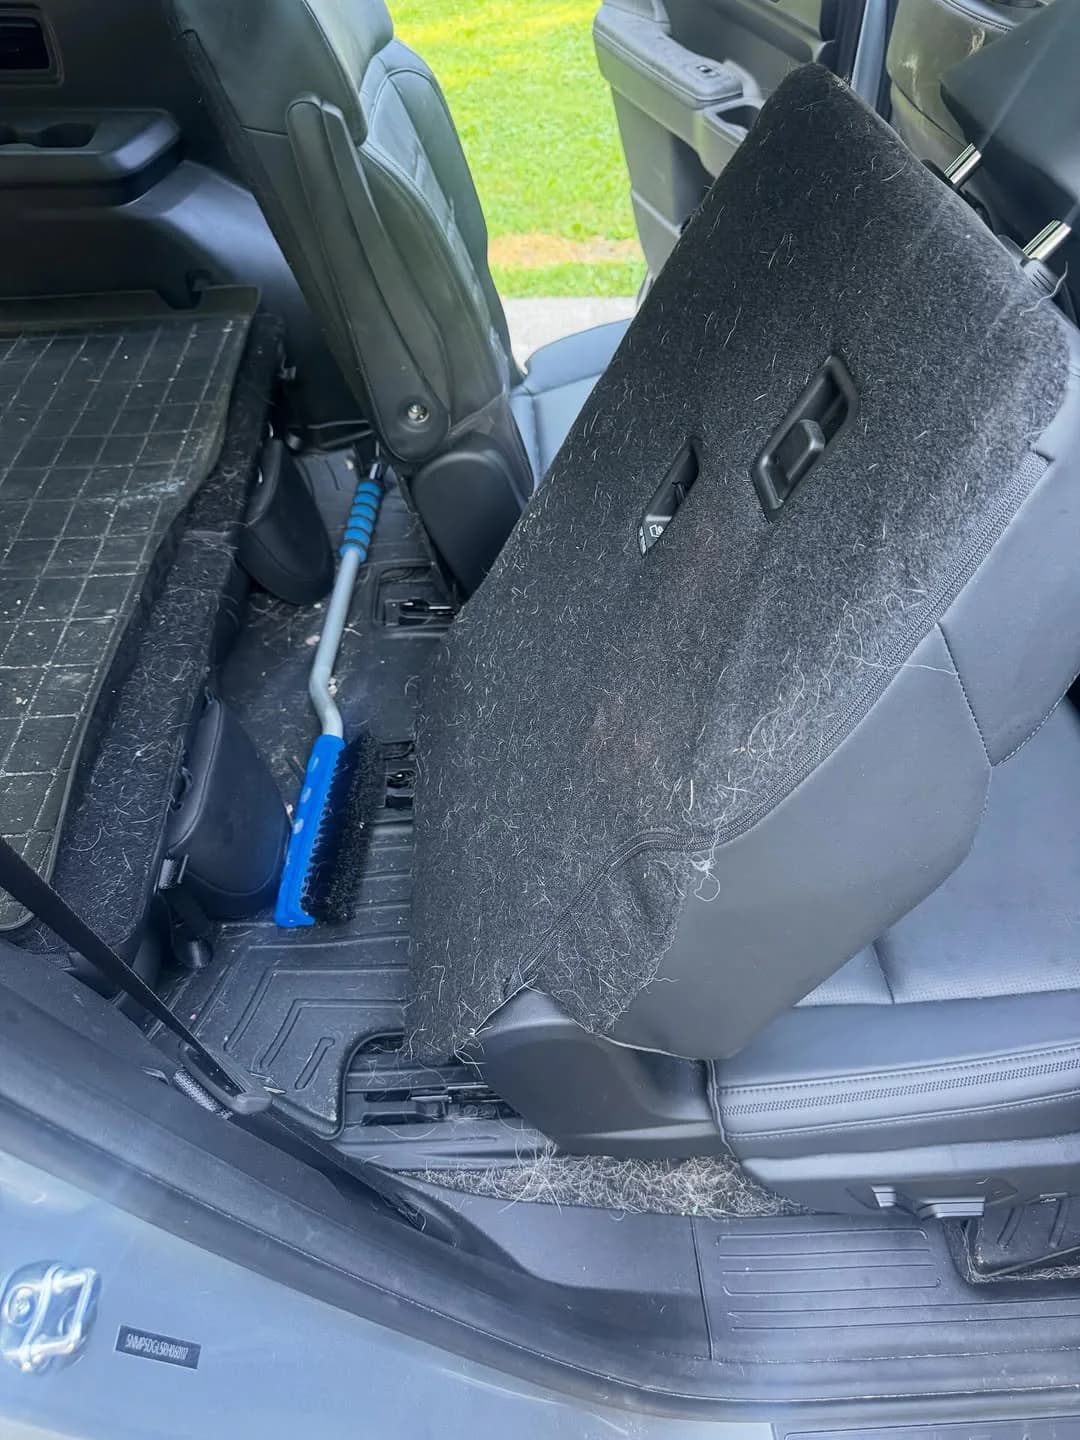
Pet hair rarely behaves like loose crumbs. It can sit on a smooth surface, weave into carpet, gather at seat anchors, or migrate from a cargo area into several rows. Describing where it is and what it is mixed with makes an interior request much more useful.
Map the cabin by material
Look at carpet, cloth seats, leather or vinyl surfaces, plastic trim, and the fabric on the back of folding seats separately. Hair that lifts easily from a hard panel may be deeply held by the neighboring carpet. The same vehicle can contain several very different removal conditions.
Pay special attention to the seams where materials meet: carpet beside plastic trim, seat cushions beside a console, the fold behind a rear seat, and the lip of a cargo floor. A wide photo of each affected zone and one close photo of the fibers usually communicates more than a severity label.
- Front and rear carpet
- Seat seams and anchors
- Cargo floor and seat backs
- Door pockets and trim edges
Name what is mixed into the job
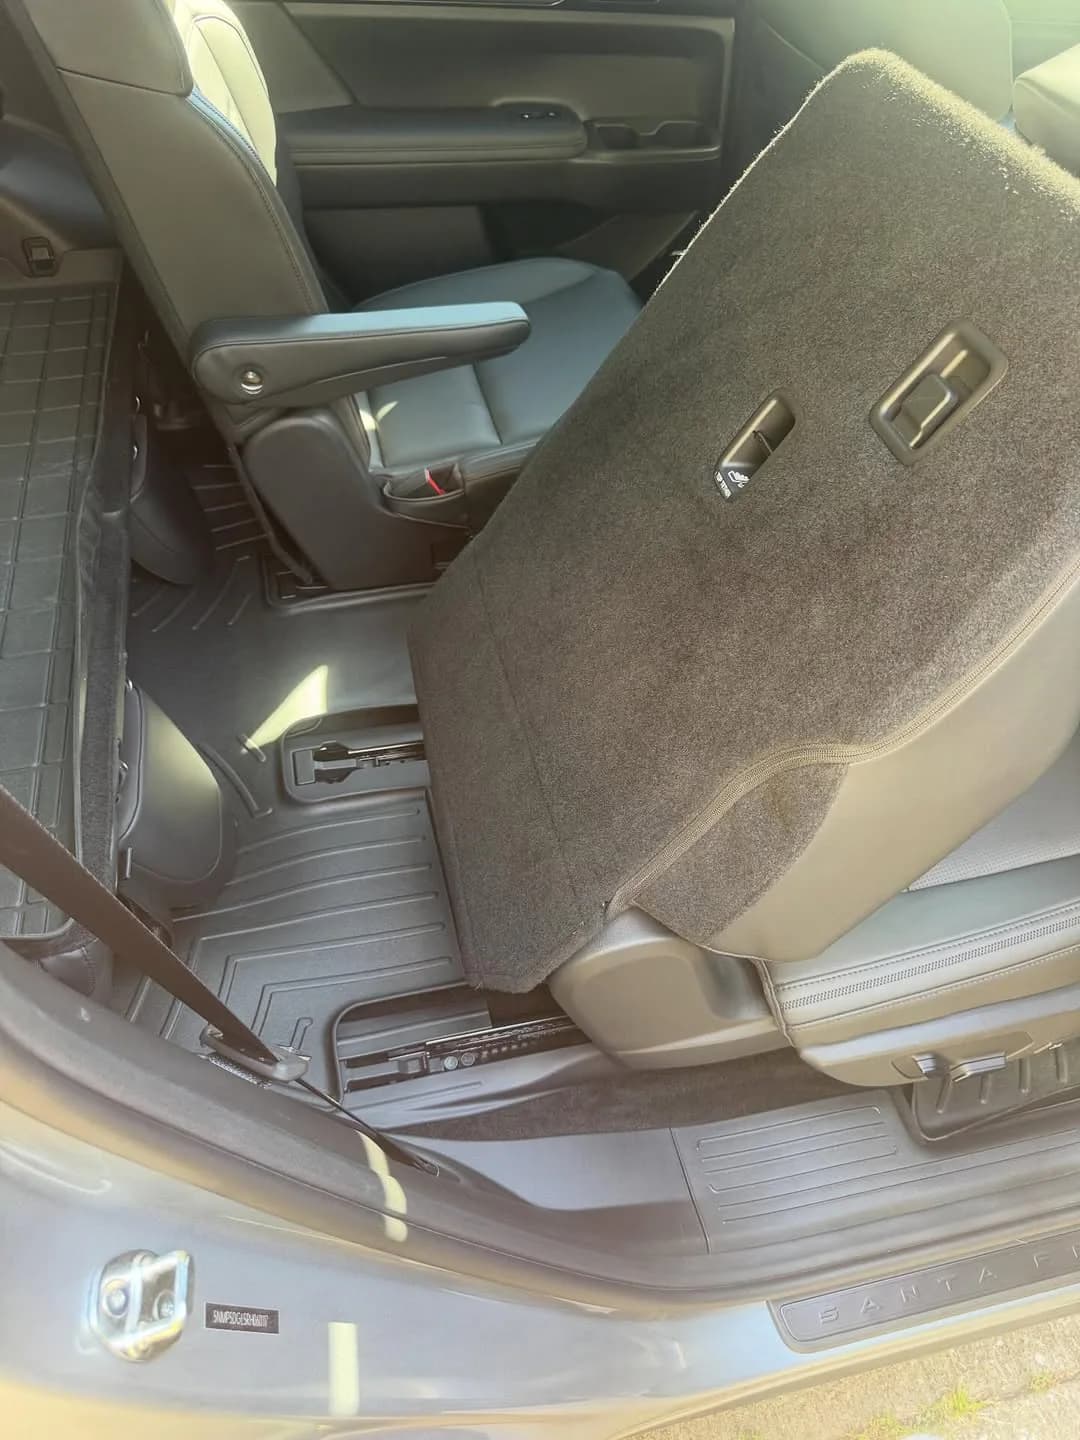
Pet hair often arrives with ordinary family or work-vehicle conditions: crumbs, sand, dried mud, drink residue, nose marks on glass, or material beneath removable cargo liners. Mention those separately. Extraction or stain-focused work is a different condition cue from dry hair removal.
Odor also deserves its own description. Say whether it is constant, appears only in damp weather, or is connected to a known event. Cleaning can address surface contamination, but a detail request is not a diagnosis for a leak, mold, mechanical issue, or a deeply damaged material.
Set the cabin up for an honest first look
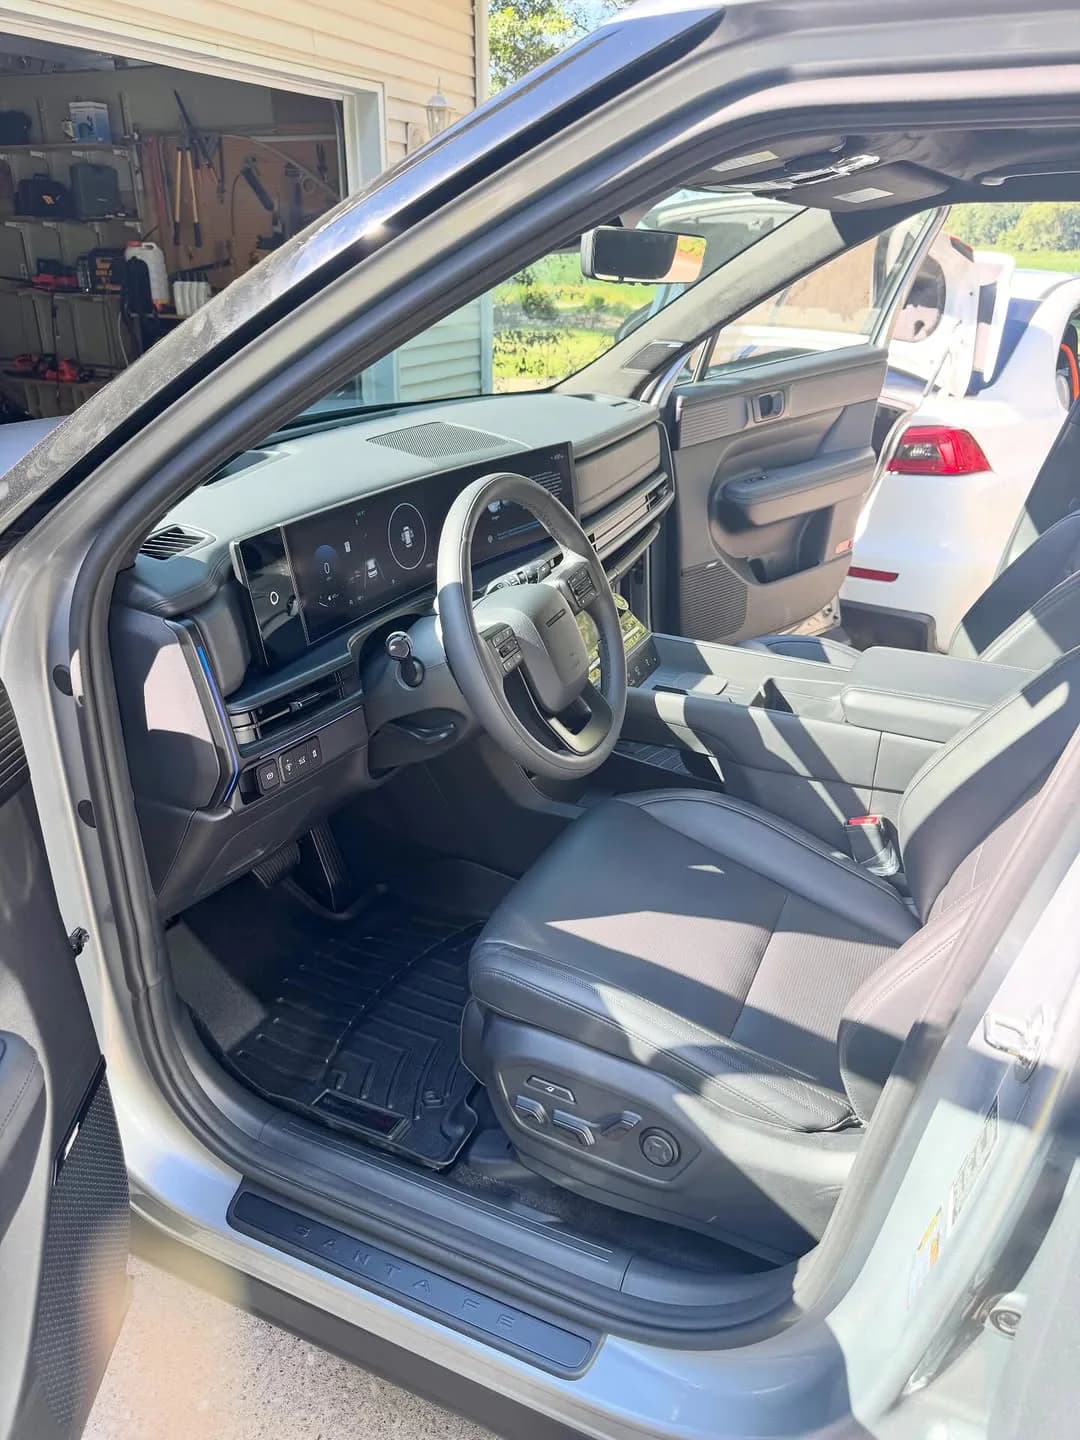
Remove leashes, bedding, bowls, loose toys, paperwork, and valuables. If a child restraint remains installed, explain that before the appointment conversation; do not assume a detailer will remove or reinstall safety equipment. Fold or move seats only when you normally operate them and it is safe to do so.
The practical goal is access and clarity. Some embedded fibers or previously damaged fabric may not return to a like-new state. Sharing the full condition lets the discussion focus on realistic improvement and the areas that matter most to you.
- Remove loose pet gear and valuables
- Call out installed safety equipment
- Photograph the hardest-hit zone
- Describe stains, dampness, or odor separately
Use the guide
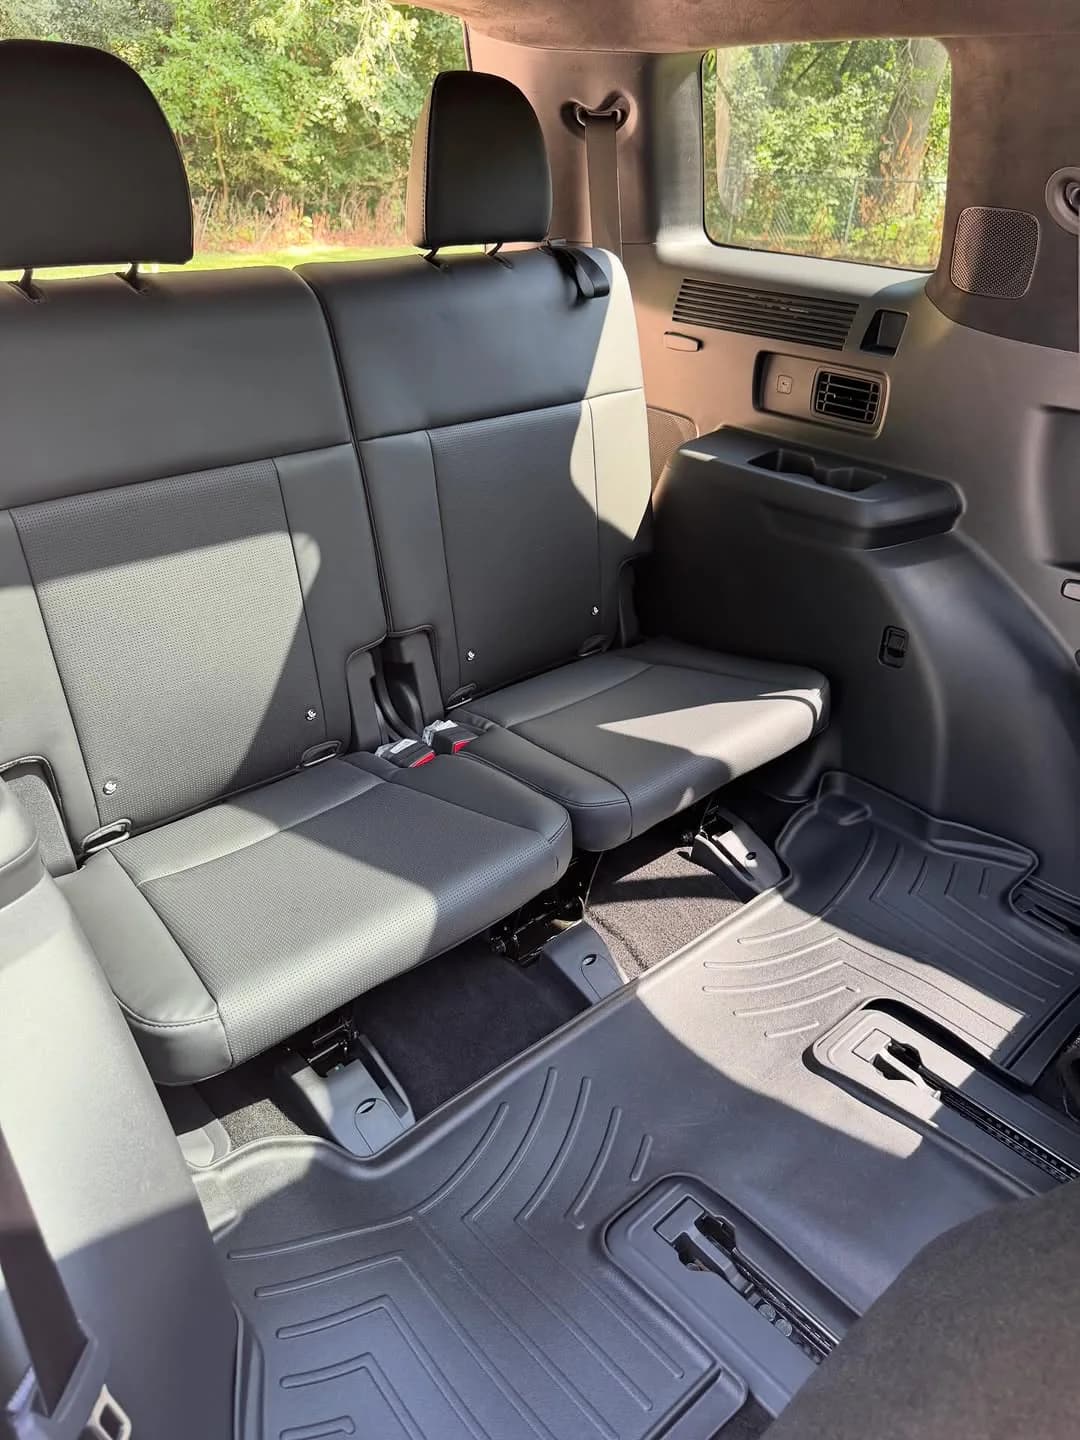
Now describe the vehicle in front of you.
These notes provide context, not a diagnosis, quote, or guaranteed outcome. Current condition still decides the conversation.